Field Notes: remove common program groups, cause Notifications issue
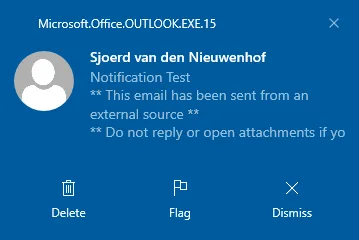
During a recent project, we experienced some issues with notifications not working. Outlook was giving notifications. Still, the program isn’t Outlook, but Microsoft.Office.OUTLOOK.EXE.15. Looking at the Notifications & Actions settings, it shows “Microsoft Outlook” without an icon and is turned Off; turning it on isn’t possible. It switches back to


